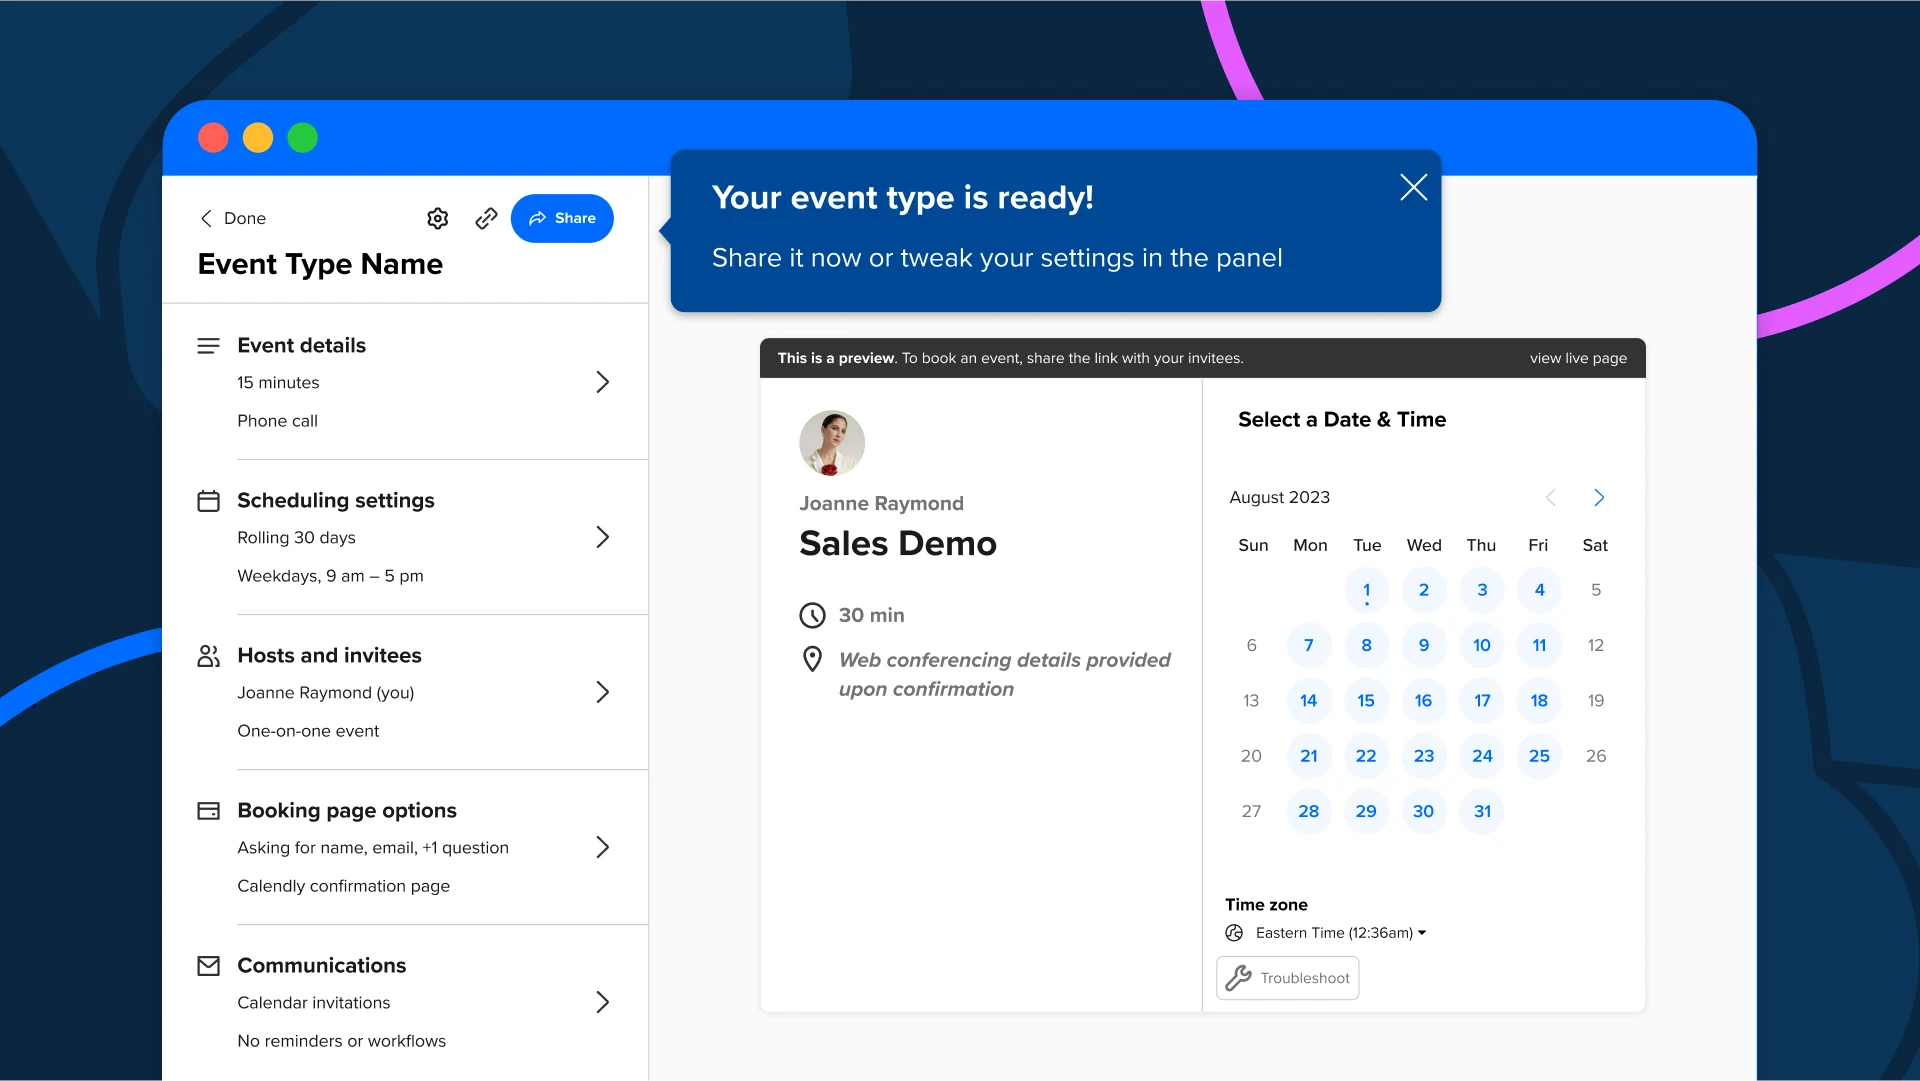
One-on-one events are a core feature of Calendly, perfect for personal meetings, consultations, or any scenario where you need dedicated time with a single person. Follow this step-by-step guide to create your first one-on-one event effortlessly.
You can also watch an in depth step by step by step video below : Video
Step 1: Start from the Home Page
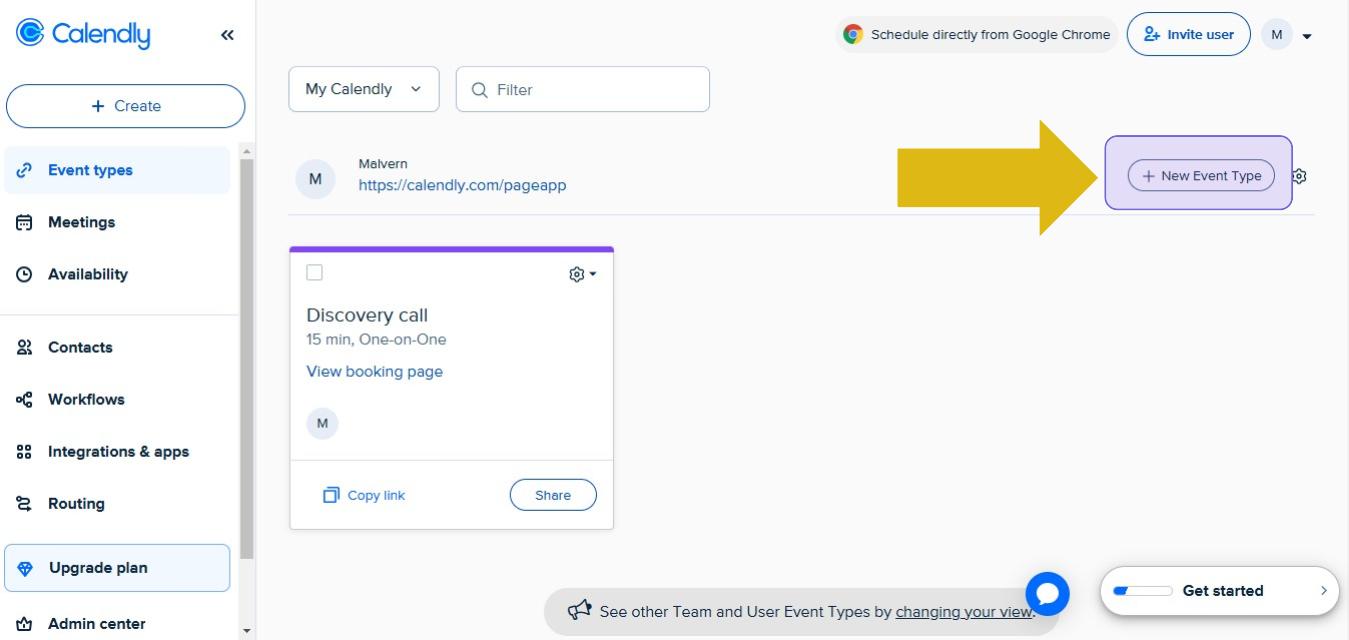
On your Calendly homepage, locate the New Event Type button. This button is typically found at the top or center of your dashboard. Clicking it will start the event creation process.
Step 2: Choose Your Event Type
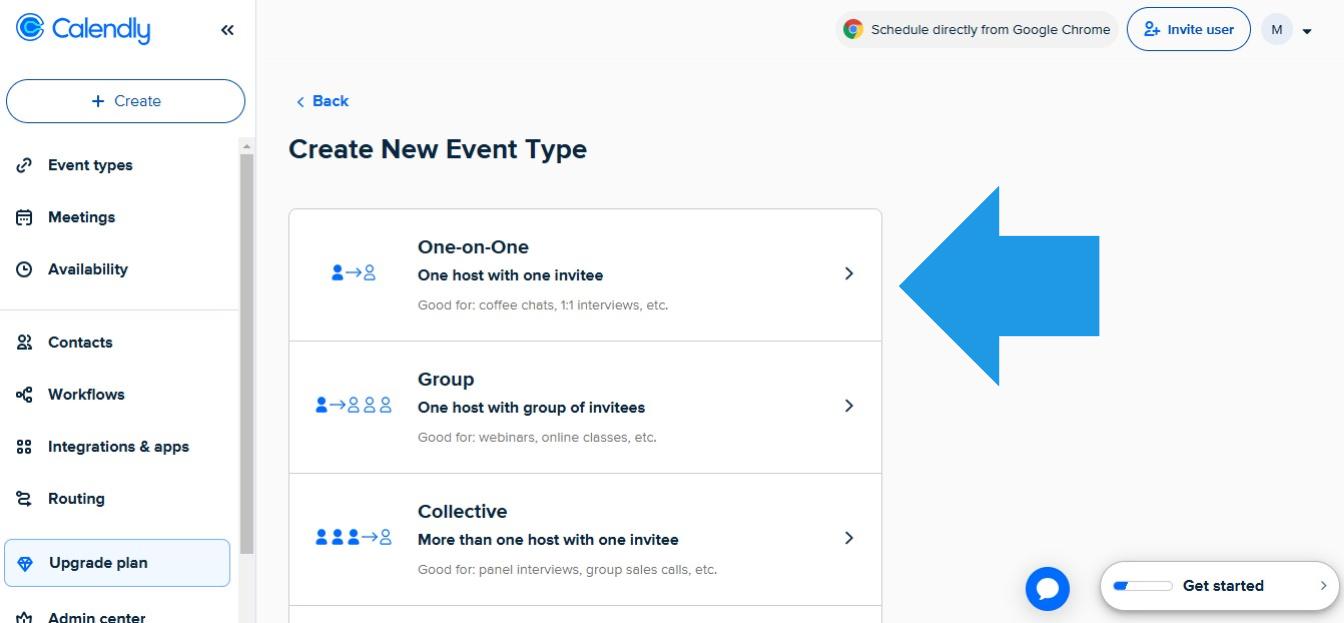
Once you click New Event Type, you'll be taken to a page titled Create New Event Type. Here, Calendly offers four main event types:
- One-on-One Event
- Group Event
- Collective Event
- Round-Robin Event
Since we’re setting up a one-on-one event, select One-on-One Event.
Step 3: Define Your Event Details
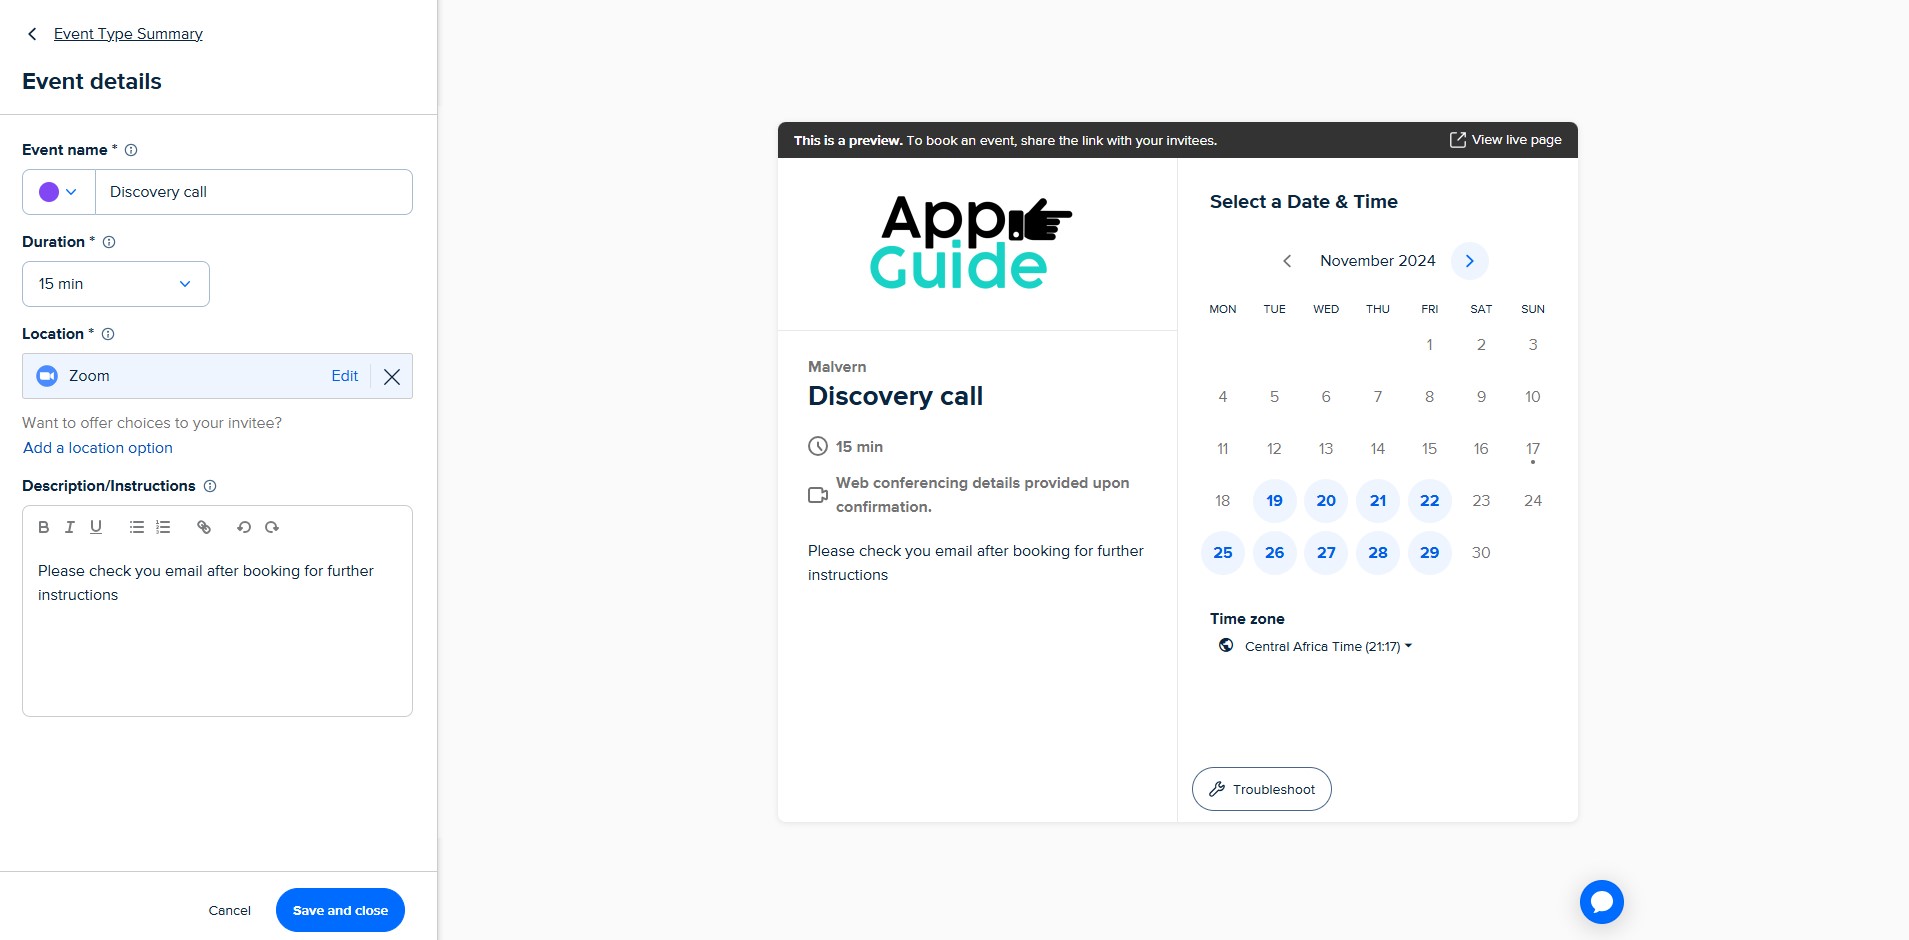
You’ll be prompted with a form titled What Event Is This?. Fill in the following fields:
- Event Name: Choose a name that describes your meeting, e.g., "30-Minute Consultation."
- Location: Select the meeting location. Options include Zoom, Google Meet, phone call, or a custom location.
- Description/Instructions: Add details to guide invitees about what to expect.
Step 4: Set Your Availability
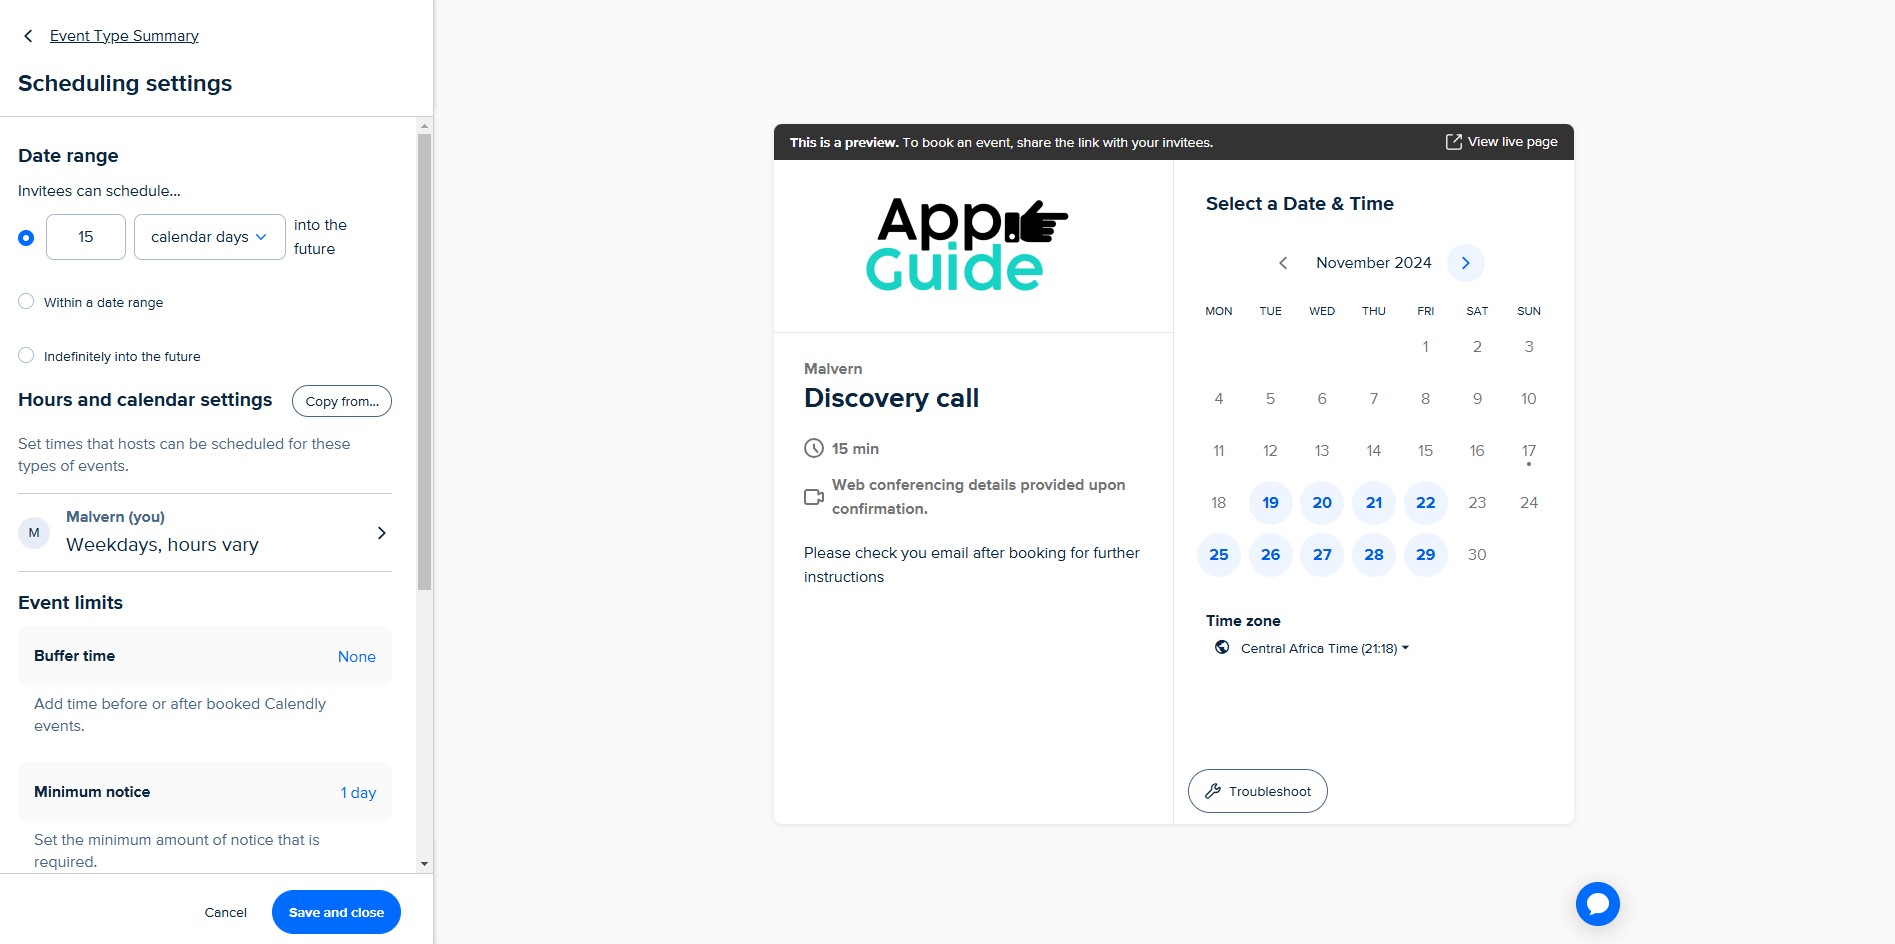
Calendly allows you to configure the dates and times when you're available for this event.
- Define time clients can book into the future.
- insert your schedule settings under "Hours & Calendar settings ".
- Add time (15 min etc) breather time between your meetings by using the buffer settings .
- Chose to lock lock to one time zone or allow the system to detect the invitee timezone.
- Choose what booking intervals will be shown on your booking page by changing time increments.
Step 5: Booking page options
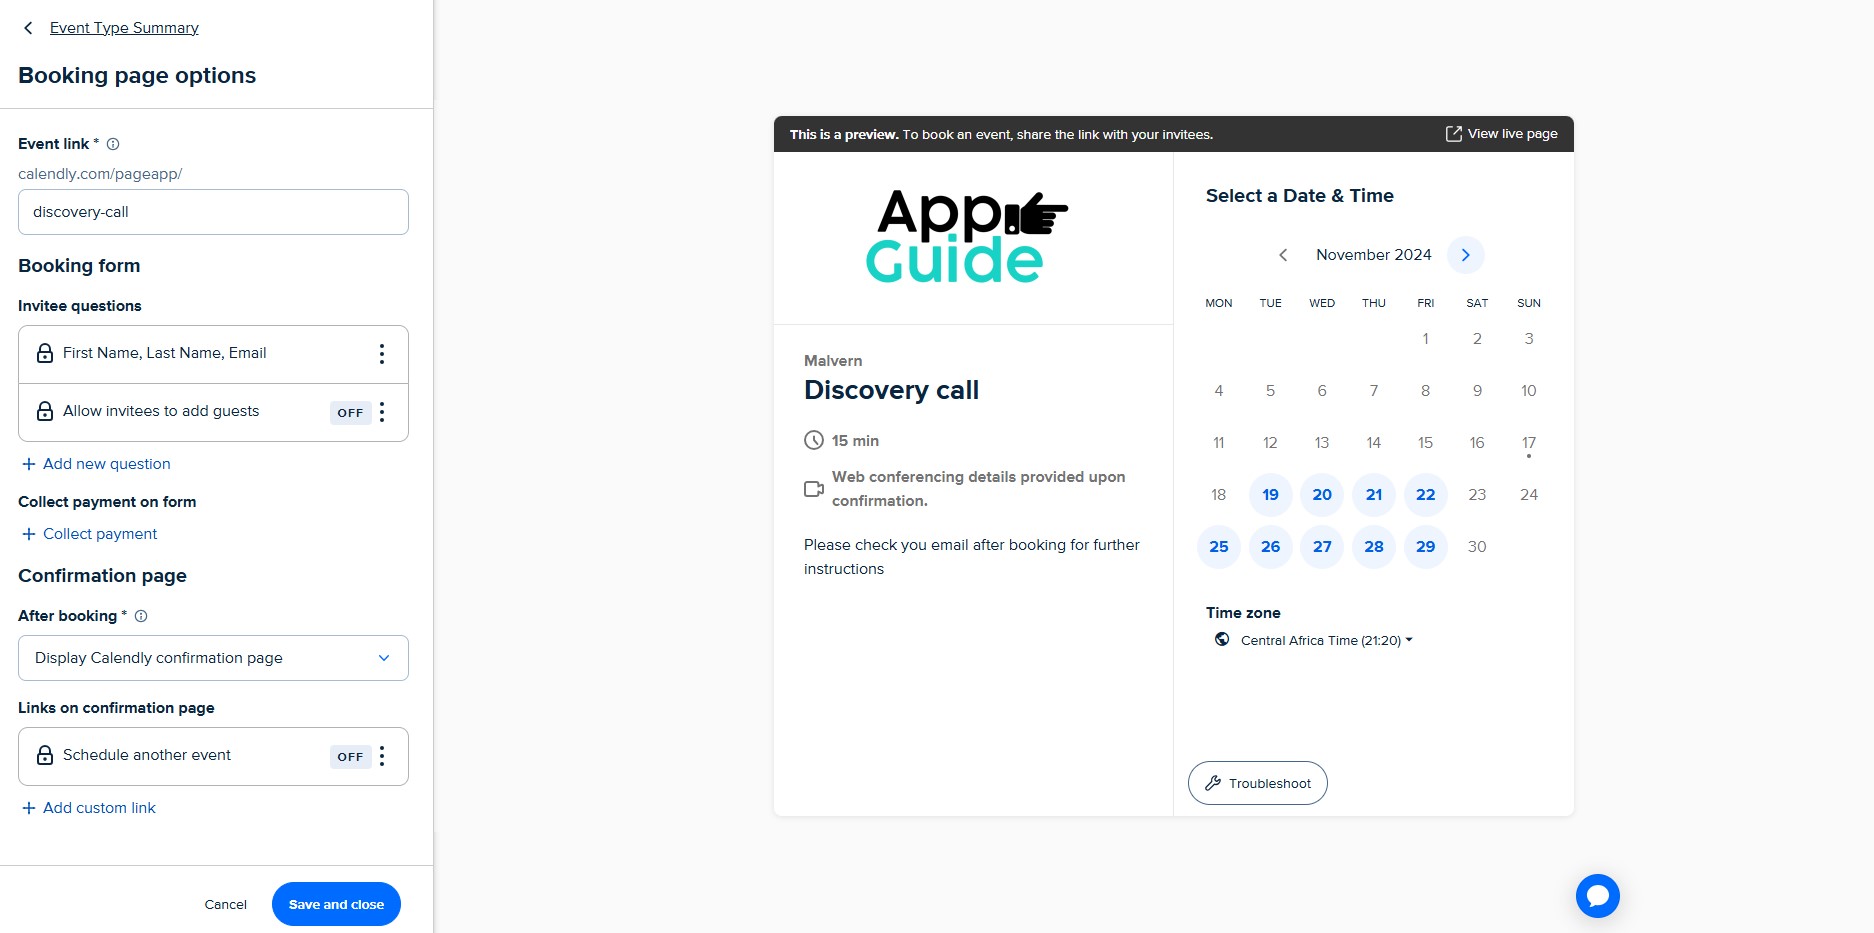
On this section you are able to change the Event link so that you can customize it to your liking. There is an option to add 10 invitee question that will be answered by the client. These questions can be in the form of answer boxes, radio buttons, checkboxes, dropdowns or phone number format.
Within this section you can enable collection of payment on this page. This option allows you to specify the amount you want in a particular currency.
You can redirect a client to a specific page after booking or show a link on the confirmation page from the "Confirmation page" segment under these "Booking Page Options"
Step 5: Customize Notification and workflows
The Notification and Workflows section allows your to edit email and text notifications.These notifications include Email confirmation, Email cancellation, email reminders, text reminders and custom workflows.
You can build personalized messages to fit your needs. Once you finish click save and close.You can return to the main page to utilize your event.
Article Written By : Malvern T Mbirimi

